Last updated November 22, 2026
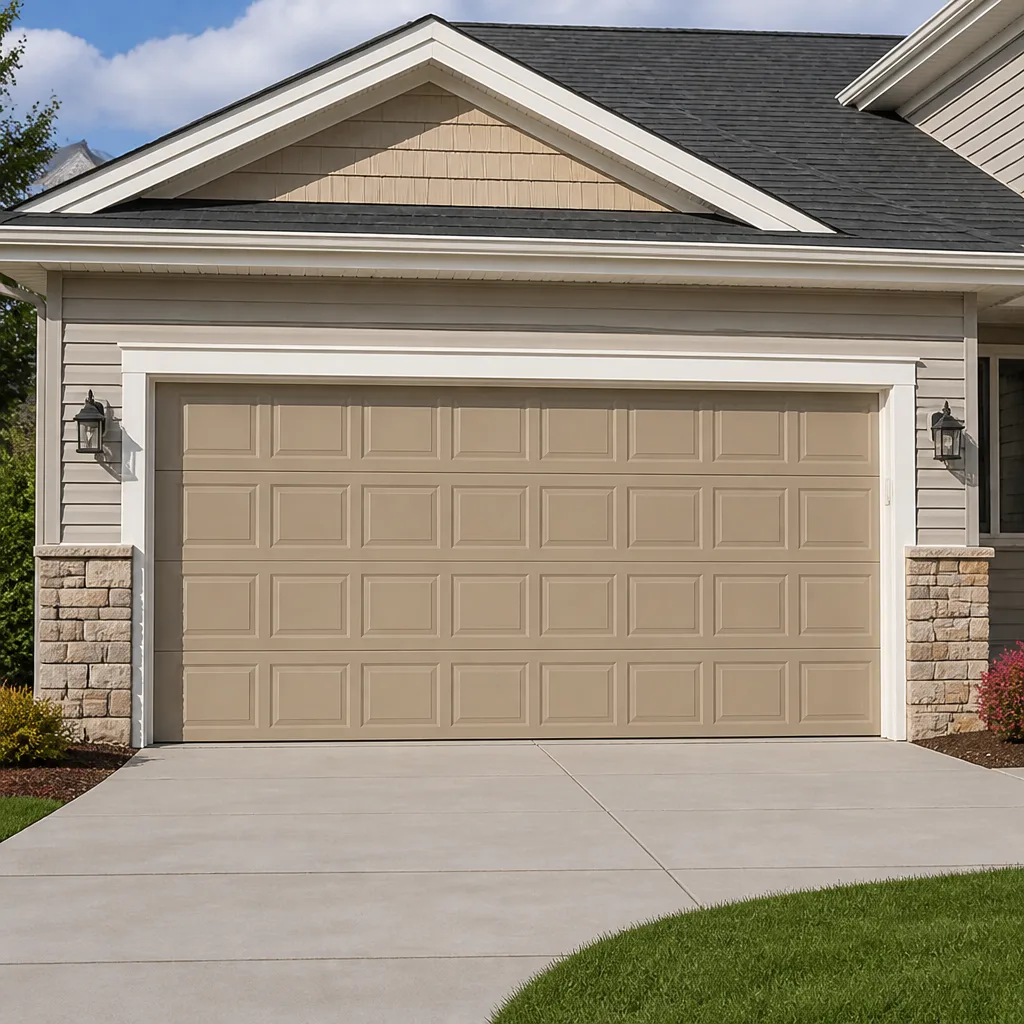 Raised-panel steel
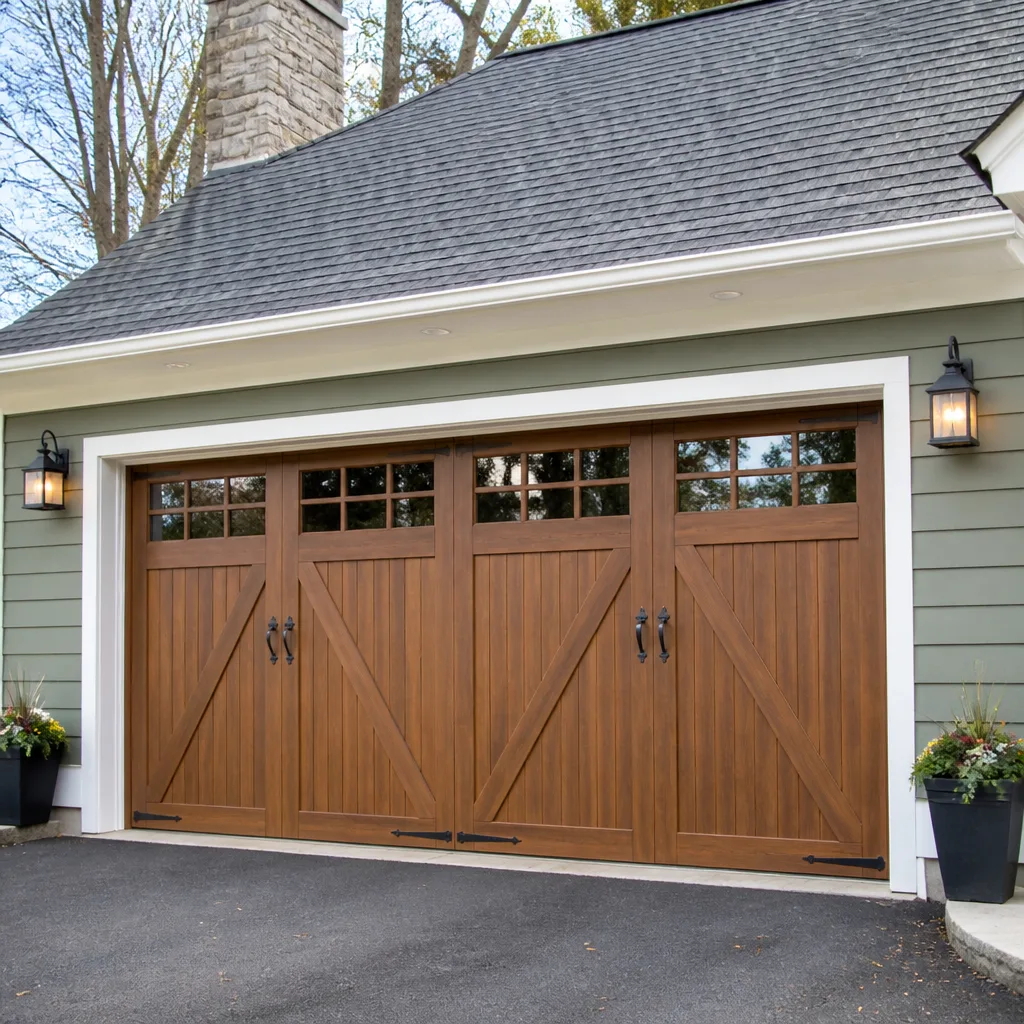 Carriage house
 Modern flush
 Full-view glass
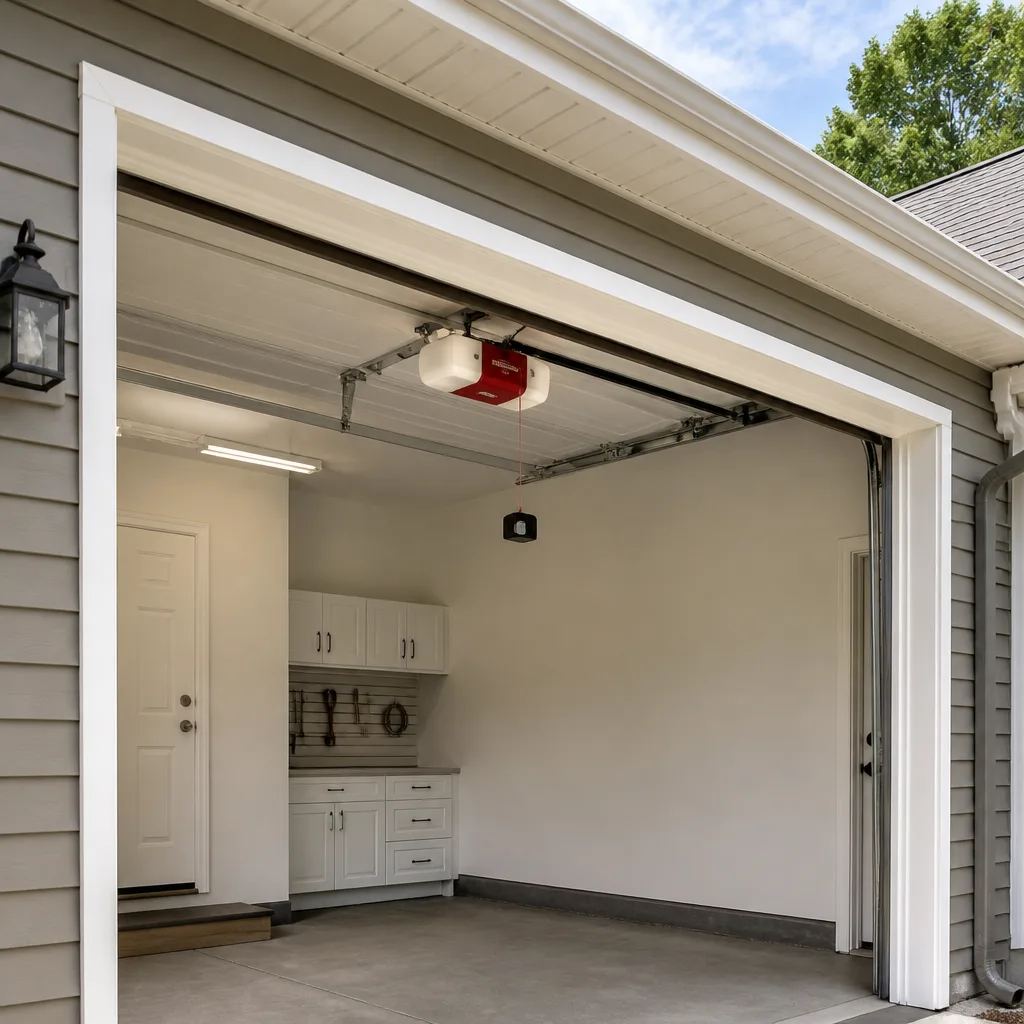 LiftMaster openers
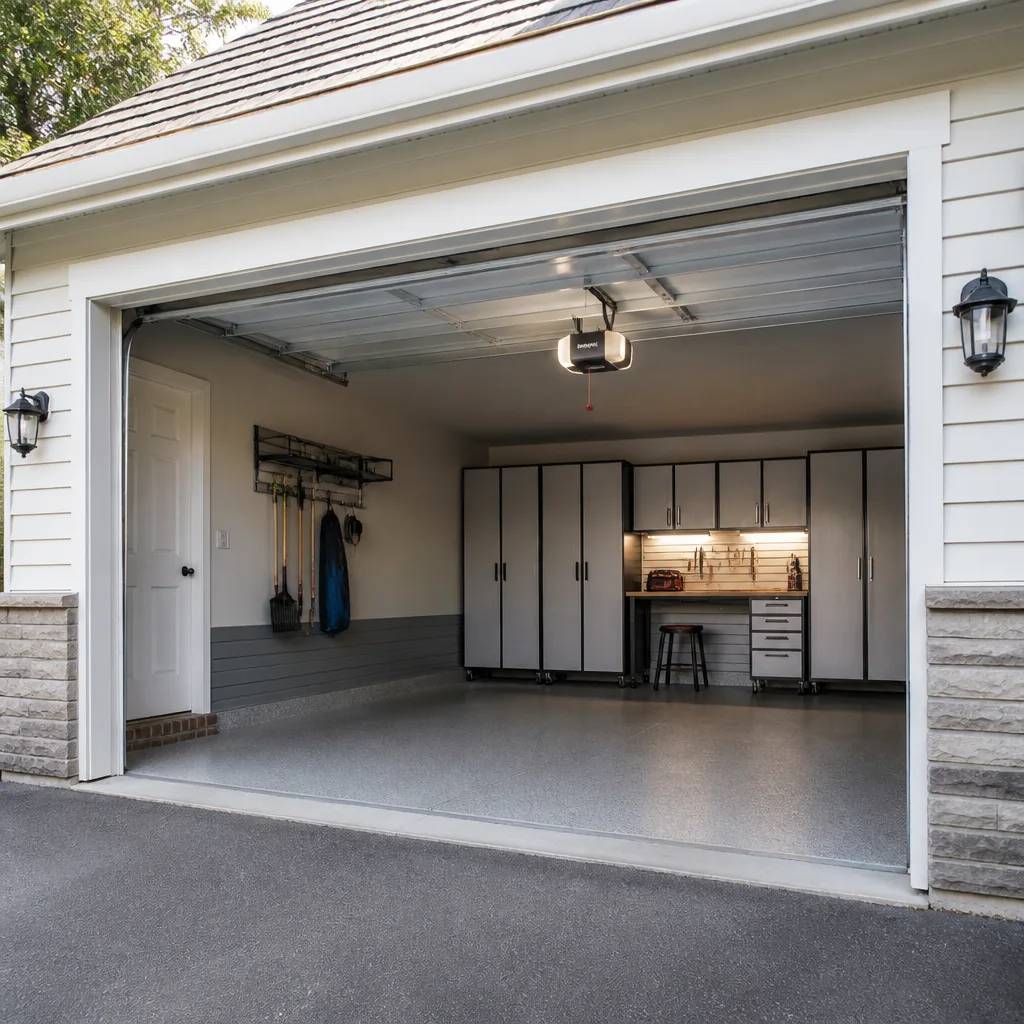 Chamberlain openers
Full 25-point door and opener safety check with every visit - springs, cables, rollers, tracks, and your LiftMaster or Chamberlain opener included
You get a price before we start. It does not change when the pro arrives.
Get your free estimateDIY vs Professional Garage Door: The Dale City Homeowner’s Decision Guide
Most garage door problems look like a weekend project and aren’t. That gap between appearance and reality is where the real decision lives, and it has nothing to do with how handy you are. A torsion spring on a standard residential door holds enough stored energy to seriously injure you the moment you release it without the right tools, and that single fact redraws the whole DIY-versus-professional line. Some tasks are genuinely yours to handle. Others aren’t, and knowing which is which protects your wallet, your door, and your body. This guide gives you that line clearly, for Dale City homeowners specifically, so you can decide with facts instead of YouTube confidence.
Styles & brands we work with
- Raised-panel steel
- Carriage house
- Modern flush
- Full-view glass
- LiftMaster openers
- Chamberlain openers
Quick Answer
You can safely handle lubrication, photo-eye alignment, remote reprogramming, and visual inspections yourself. Anything involving torsion springs, cables, bottom brackets, or the door’s balance and travel limits belongs to a trained technician, because those parts store and release dangerous force. For springs, cables, and major repairs, hiring a professional is the correct call, and the cost of a proper repair is almost always less than the cost of a DIY mistake plus the repair that follows it.
Table of Contents
- Why Garage Door DIY Is a Different Kind of DIY
- What You Can Safely Do Yourself
- What Requires a Trained Technician
- The Tool Reality Nobody Mentions
- How DIY Mistakes Raise Future Repair Costs
- The Warranty Dimension
- An Honest Cost Comparison
- Common Mistakes to Avoid
- When to Call a Professional
- Frequently Asked Questions
Why Garage Door DIY Is a Different Kind of DIY
Your garage door is the largest moving object in your house, and it runs on a system of springs, cables, and tracks that work together under continuous tension. That’s what separates it from fixing a squeaky hinge or patching drywall. The energy stored in a torsion spring is always there, waiting, and it doesn’t care whether you’ve watched a tutorial. When it releases unexpectedly, it releases all at once.
In Dale City, most homes have standard overhead sectional doors with torsion or extension springs, and the systems are largely the same from one block to the next. That familiarity can be misleading. A spring that’s been holding tension for years is not a component you learn on. It’s a component that either gets serviced correctly by someone who knows the force involved, or it gets serviced by someone guessing.
Here is the mental model that makes the whole decision simple. Picture two categories:
- Low-energy tasks. Lubrication, sensor cleaning, remote pairing, tightening visible bolts. If something goes wrong, the worst outcome is usually a door that still doesn’t work and a call to a technician.
- High-energy tasks. Torsion springs, extension springs, cables, bottom brackets, and anything that changes how the door balances. If something goes wrong here, the worst outcome is an injury or a door that comes off its tracks entirely.
Sort every job you’re considering into one of those two buckets and the answer usually becomes obvious. The rest of this guide fills in the details, including the Dale City-specific reasons the line matters and the practical costs on both sides. When you do reach the point where a professional is the right move, our Garage Door Repair Dale City team handles the full range, from a single opener fix to a complete new door.
What You Can Safely Do Yourself
A meaningful share of “broken garage door” calls turn out to be things a homeowner can fix in ten minutes with no risk. If your door is in one piece, moves evenly by hand, and the opener just isn’t responding, you’re likely in safe territory. These are the tasks we genuinely encourage homeowners to try before calling anyone.
- Lubricate the moving parts. A garage door has rollers, hinges, and a track that benefit from periodic lubrication. Use a garage-door-specific lubricant rather than household oil or grease, which attract grit. Wipe the track clean first, then apply sparingly. A door that shudders or squeals is often just dry.
- Clean and align the photo-eye sensors. The two small lenses near the bottom of the tracks stop the door if something crosses the beam. Wipe them with a soft cloth and confirm each one’s indicator light is steady, not flickering. A misaligned sensor is one of the most common reasons a door refuses to close.
- Reprogram your remote. If the wall button works but the remote doesn’t, the issue is usually pairing, not the opener. Follow your opener’s manual to reprogram. LiftMaster and Chamberlain units each have a slightly different procedure, and both are covered in the owner’s documentation.
- Check and tighten visible hardware. Bolts and brackets on the door panels can loosen over time. A quick pass with a wrench on accessible fasteners quiets rattles. Never loosen anything attached to a spring or cable.
- Test the safety reverse. Place a small object in the door’s path and confirm it reverses on contact. This is a safety check every homeowner should run monthly.
- Clear and inspect the tracks. Debris, leaves, and even small toys can jam a track. Remove obstructions by hand and look for obvious bends. Don’t try to bend a track back into shape yourself.
These six tasks cover a surprising amount of what goes wrong day to day. If you’ve done them and the door still won’t behave, that’s your signal to stop. Reach for a free estimate instead of a wrench. For anything beyond this list, our garage door repair service is the safer path, and it starts with a diagnostic that tells you exactly what’s wrong before anything is touched.
What Requires a Trained Technician
This is the section that matters most, and we’d rather you leave with a clear line than a vague sense of caution. The following components store or transmit serious force. They are not beginner repairs, and they are not the place to save a few dollars.
- Torsion springs. Mounted above the door on a shaft, these springs wind up and hold the door’s weight. Replacing one requires winding bars and a precise understanding of how many turns to apply and in which direction. A torsion spring released without control can break a wrist or send the winding bar flying. Our garage door spring repair service exists as its own specialty for exactly this reason. This is the repair other companies call complicated, and it’s the one where doing it wrong has real consequences.
- Extension springs. Common on older doors, these run along the sides and stretch under tension. They can fail violently, and replacement means working near a spring that’s still loaded. A trained technician knows how to de-tension safely before removal.
- Cables. The cables carry the door’s weight between the springs and the bottom corners. A cable under tension can snap back with dangerous speed. Never handle a frayed or slack cable.
- Bottom brackets. These anchor the cables at the bottom of the door and are under constant load. Loosening one without relieving tension first is how injuries happen.
- Balance and travel limits. If the door is unbalanced or the opener’s travel limits are wrong, the door can hit the floor hard or reverse unexpectedly. Setting these correctly takes measurement and adjustment a technician does routinely.
- Track and panel replacement. A bent track or damaged panel affects how the whole system moves. Replacing either incorrectly can cause the door to bind or come off its tracks.
Safety first: if you suspect a spring, cable, or bracket problem, stop operating the door. Don’t try to force it open or closed, and don’t attempt to relieve the tension yourself. Call a professional. Our technicians have up to 13 years of experience, and spring repair is a service we treat with the safety protocols the job demands, not a part swap squeezed between unrelated tasks.
The Tool Reality Nobody Mentions
Online tutorials skip a step that changes everything: the tools. A spring replacement doesn’t require exotic equipment, but it does require specific equipment you don’t own and won’t need twice. That changes the math on DIY in a way a video never shows.
Here’s what a proper spring job actually involves:
- Winding bars. Purpose-made steel bars sized to fit the winding cones. A screwdriver or piece of rebar is not a substitute, and using one is how people get hurt.
- Cable drums and a cable puller. The drums seat the cables on the shaft, and setting them correctly requires the right tool and the right technique.
- A calibrated way to measure spring tension. The number of turns isn’t guesswork. A technician winds to a specific count based on the door’s weight and spring size.
- Torque specifications for the hardware. Over-tighten a set screw and you strip it. Under-tighten it and the drum slips under load.
- Safety glasses, gloves, and a clear understanding of the release sequence. The sequence of steps matters as much as the tools. Get the order wrong and the spring unloads on you.
Buying this setup for a single repair makes no sense. You’d spend more on tools than on the repair, and you’d still be doing the job for the first time on a component that punishes inexperience. This is the part of the DIY-versus-professional question that isn’t really a question. A technician arrives with the tools already in hand and has done the job many times.
The same logic applies to opener work. A garage door opener repair on a modern LiftMaster or Genie unit involves travel limits, force settings, and sometimes a logic board. Those are adjustments a technician makes with the right diagnostic tools and the knowledge of how that specific brand behaves.
How DIY Mistakes Raise Future Repair Costs
The jobs a technician dreads most are the ones someone attempted first. Not because of ego, but because a failed repair often damages more than it fixes. A stripped set screw, a bent track from prying, or a spring wound to the wrong tension can turn a straightforward repair into a bigger one. That’s the hidden cost of DIY that never shows up on the parts price.
Here’s how it usually plays out:
- A small problem becomes a bigger one. A homeowner forces a door that’s off its tracks, bending a roller and warping a panel in the process. What was a track adjustment becomes a track-and-panel job.
- A spring gets replaced with the wrong size. Springs are matched to door weight. A spring that’s too weak or too strong makes the door unbalanced, strains the opener, and often fails again. The second repair costs more than the first would have.
- Hardware strips or cross-threads. A set screw over-tightened with the wrong tool strips the shaft. Now the drum won’t hold, and the fix involves more parts than the original job.
- The opener gets blamed for a door problem. A door with a bad spring or unbalanced panels makes the opener work harder. Homeowners sometimes replace the opener when the door was the real issue.
- Diagnostic time goes up. A technician called to a door that’s been half-disassembled has to sort out what was done, which adds time and cost.
Each of these is avoidable. The pattern is simple: a failed DIY attempt usually costs the original repair plus the correction. In Dale City, where many homes have doors of a similar vintage and configuration, a technician can usually tell within minutes whether a door has been worked on before. That’s not a judgment. It’s just how the diagnostic goes. When you’re ready to skip the guesswork, we’re a call away.
The Warranty Dimension
Here’s a cost most homeowners never factor in: your warranty. New garage doors and openers typically come with manufacturer warranties that cover specific components, and those warranties often exclude damage caused by unauthorized adjustments. If you wind a new torsion spring yourself and it fails, the warranty likely won’t help. If a technician performed the work and documented it, you have a path to coverage. That’s a quiet but real part of the DIY-versus-professional decision.
The same applies to openers. LiftMaster and Chamberlain units, common in Dale City homes, carry warranties that can be affected by incorrect installation or adjustment. A technician who understands a specific brand knows what’s covered and what voids coverage, and can tell you before the work begins.
Our approach with warranties is to be straight about it. If your door or opener is still under warranty, ask what the manufacturer requires before you touch anything. In many cases, professional service is the way to keep coverage intact. We work with the brands homeowners already own, including Raynor and Genie along with the others, and we know how each one’s warranty terms tend to read. That knowledge is part of the value of hiring a specialist.
An Honest Cost Comparison
Comparing DIY and professional garage door repair on parts price alone is misleading. The real comparison includes diagnostic accuracy, the risk of a failed attempt, and the value of getting it right the first time. Here’s a realistic breakdown of where each path lands for common Dale City jobs.
- Lubrication and sensor alignment. DIY cost is negligible; a technician visit adds a service fee. These are the clearest cases for DIY.
- Remote reprogramming. DIY is free if you have the manual. Professional help is only worth it if pairing fails and the opener itself seems faulty.
- Torsion spring replacement. Parts cost is modest, but the professional cost includes the technician’s training, tools, and warranty. DIY here carries a real risk of injury and a second repair. The professional route is almost always the better value.
- Cable and bottom bracket work. Similar to springs. The parts are inexpensive; the risk isn’t.
- Opener repair. A technician’s diagnostic accuracy often saves money by identifying the actual failed component rather than replacing the whole unit.
- New door installation. This is professional work from start to finish, involving measurement, ordering, and installation. Shop by written quote, not by parts price.
The honest takeaway: DIY wins on the small, low-risk tasks, and professional service wins on anything involving stored energy or a warranty. The value a technician brings isn’t just labor. It’s knowing what’s wrong, what’s safe, and what the repair should last. When you add up the parts, the risk, and the possible second repair, professional service on high-energy tasks is usually the cheaper path in the end. A free estimate will tell you exactly where you stand before you commit to anything.
Common Mistakes to Avoid
We’ve seen these come up often enough to list them plainly. Each one is avoidable with a little knowledge.
- Attempting a torsion spring replacement without winding bars. This is the single most dangerous DIY mistake. The spring stores enough energy to injure you badly, and improvised tools make it worse. Leave this to a technician every time.
- Forcing a door that’s off its tracks. A door that’s jumped its track is a sign something else is wrong. Prying it back into place can bend a panel or roller. Stop and call for help.
- Replacing a spring with the wrong size. Springs are matched to door weight. Guessing makes the door unbalanced and strains the opener. Let a technician match the spring to your door.
- Adjusting opener force or travel limits without understanding them. These settings control how the door stops and reverses. Getting them wrong can make the door hit hard or fail to reverse safely.
- Ignoring a frayed cable. A cable under tension can snap. A worn or frayed cable is a stop-and-call situation, not a wait-and-see one.
- Oiling the tracks. It seems logical, but oil on the tracks attracts grit and makes the rollers slip. Lubricate the rollers and hinges instead.
- Assuming a non-working door means a dead opener. Often the door itself is the problem. A technician diagnoses the whole system, not just the motor.
Most of these mistakes share a root cause: treating a spring-and-cable system like a simple mechanical gadget. It isn’t. It’s a system that stores force and needs respect.
When to Call a Professional
Call a professional when the job involves any component under tension, when the door has come off its tracks, when a cable is frayed or slack, when the door won’t balance, or when you suspect the opener has failed. Also call if you’ve done the safe tasks and the door still misbehaves. Those are the situations where a diagnostic pays for itself.
Emergency service is available for the situations that can’t wait until business hours. A door stuck open is a security concern, and a door stuck closed with a car inside is a practical problem that compounds by the hour. We offer emergency service for exactly these cases, without overpromising a specific arrival window. If your door fails and you can’t leave it, call and we’ll get you booked.
Garage Door Repair Dale City offers free estimates in Dale City. Call (844) 820-1801 to schedule, and you’ll know what’s wrong and what it costs before any work begins.
Frequently Asked Questions
You should not replace a torsion or extension spring yourself. Springs store dangerous energy, and releasing that energy without the right tools and training can cause serious injury. A trained technician has the winding bars, the sizing knowledge, and the safety protocols to do it safely. Call (844) 820-1801 for an estimate on spring repair.
Lubrication, photo-eye sensor cleaning and alignment, remote reprogramming, tightening visible bolts, and monthly safety-reverse testing are all safe for most homeowners. Anything involving springs, cables, bottom brackets, or track replacement should go to a technician. If you’ve handled the safe tasks and the door still won’t work, that’s your signal to call.
Cost depends on the repair. A simple adjustment or opener reset is far less than a spring replacement or track repair. We give a written estimate before any work starts, so you’ll know the price upfront and there are no surprises when the job is done. Call (844) 820-1801 for a free estimate.
It can. Many door and opener warranties exclude damage from unauthorized adjustments, so a DIY repair on a covered component may void coverage on that part. A technician who works with your brand knows what keeps the warranty intact. Ask before you touch anything that’s still under warranty.
Emergency service is available for urgent situations, and we’ll do our best to get to you promptly. We don’t guarantee a specific arrival window, but a door that’s stuck open or closed is exactly what emergency service is for. Call (844) 820-1801 and we’ll book you in.
We work with the brands most Dale City homeowners already own, including LiftMaster, Chamberlain, Genie, Clopay, Amarr, Wayne Dalton, Craftsman, and Raynor. Our technicians are fluent in how each system behaves, so they arrive knowing your equipment rather than guessing. Tell us your brand when you call and we’ll confirm compatibility.
The Bottom Line
The DIY-versus-professional line for garage doors isn’t about skill or pride. It’s about which tasks store energy and which don’t. Lubrication, sensor work, and remote pairing are yours to handle. Springs, cables, bottom brackets, and balance adjustments belong to a technician, because getting them wrong has consequences that outweigh any savings. DIY mistakes also raise future repair costs and can void warranties, which is easy to miss when you’re comparing parts prices. For Dale City homeowners, the practical rule is simple: if you’re not sure which side of the line a job falls on, treat it as professional work. One call covers it, and a free estimate tells you exactly what you’re dealing with.
Call Garage Door Repair Dale City at (844) 820-1801 for a free estimate in Dale City. Whether it’s a spring, a cable, or a door that won’t do what it should, we’ll give you a straight diagnosis and a price before any work begins.
Written by the team at Garage Door Repair Dale City.
See the difference
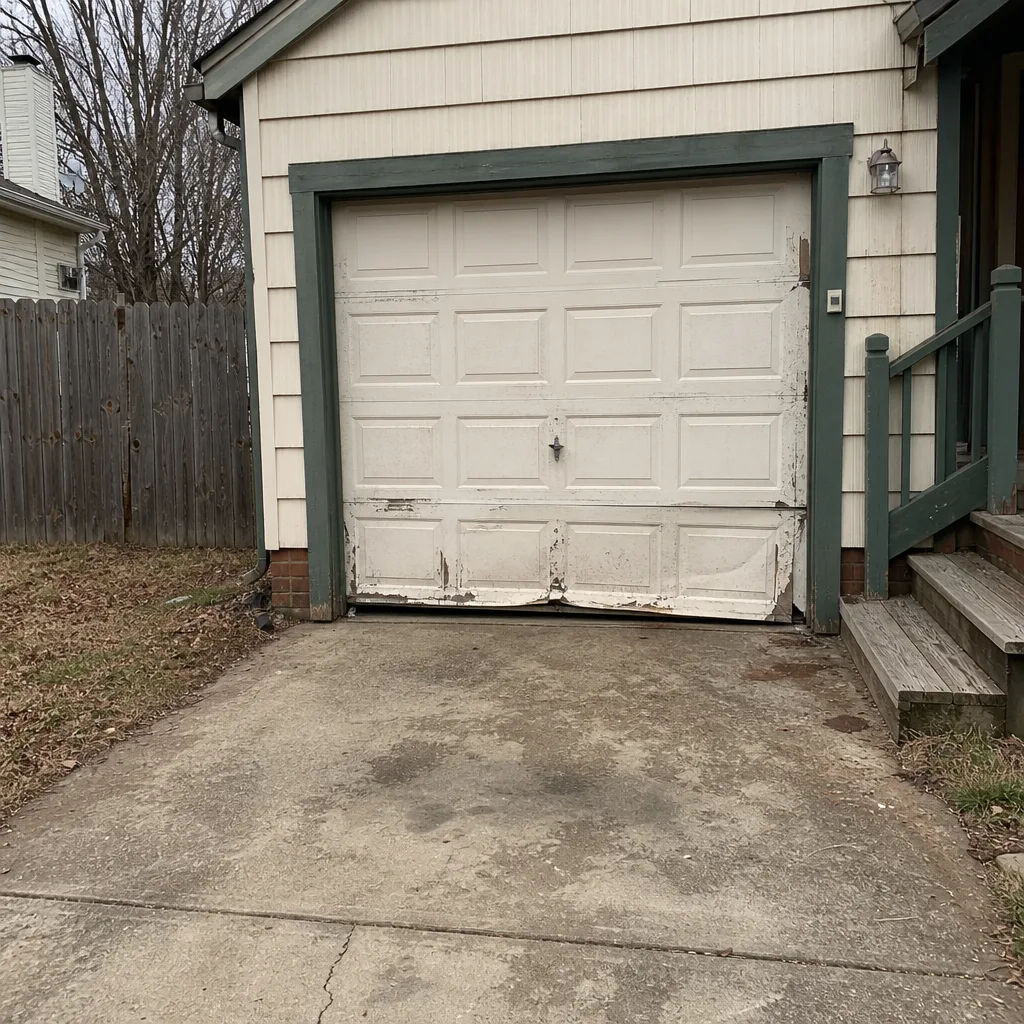 Before
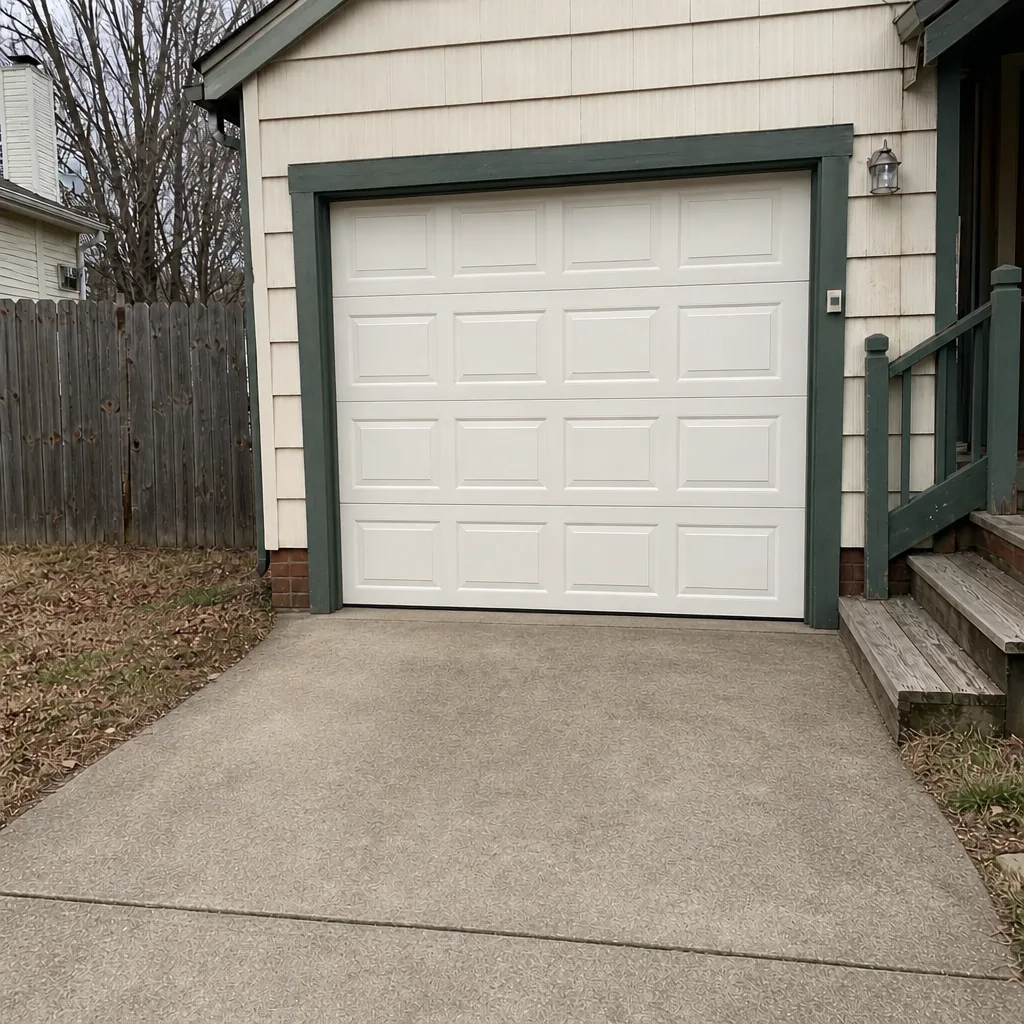 After
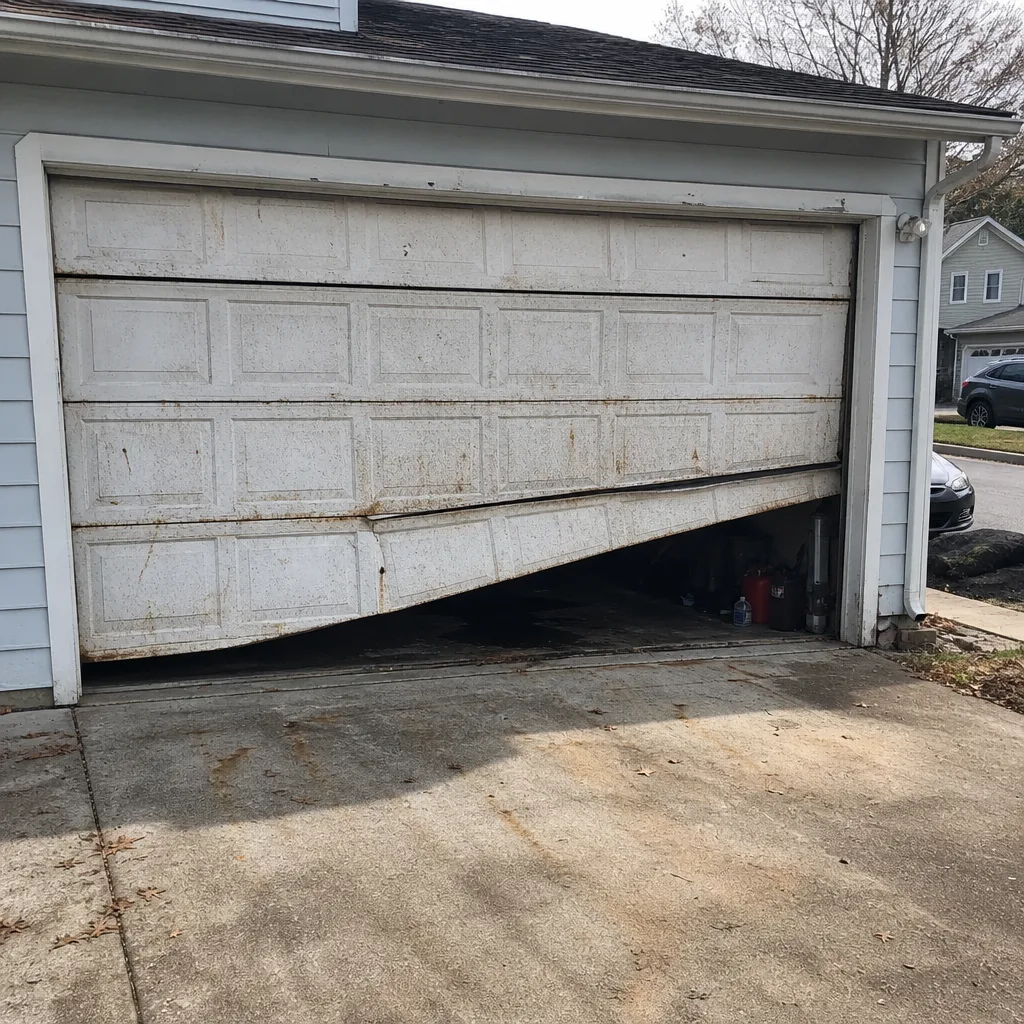 Before
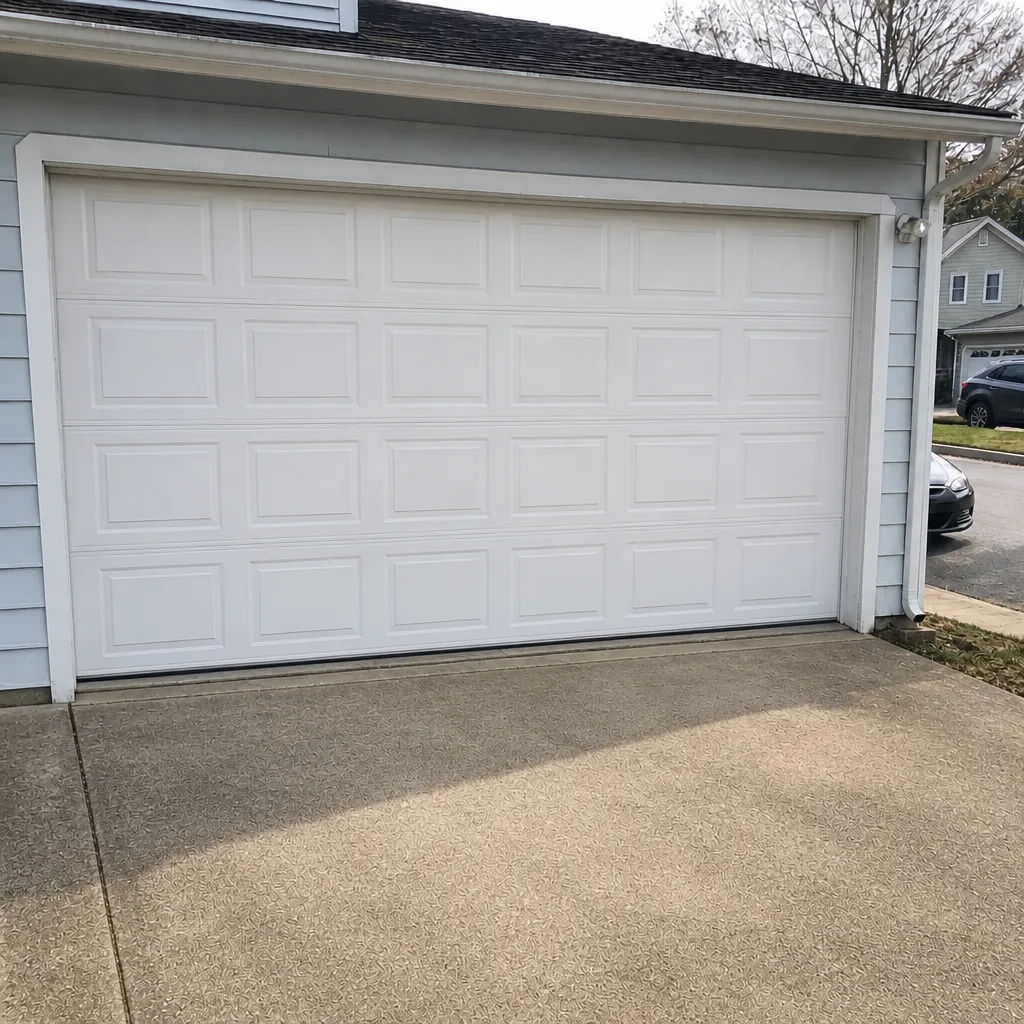 After
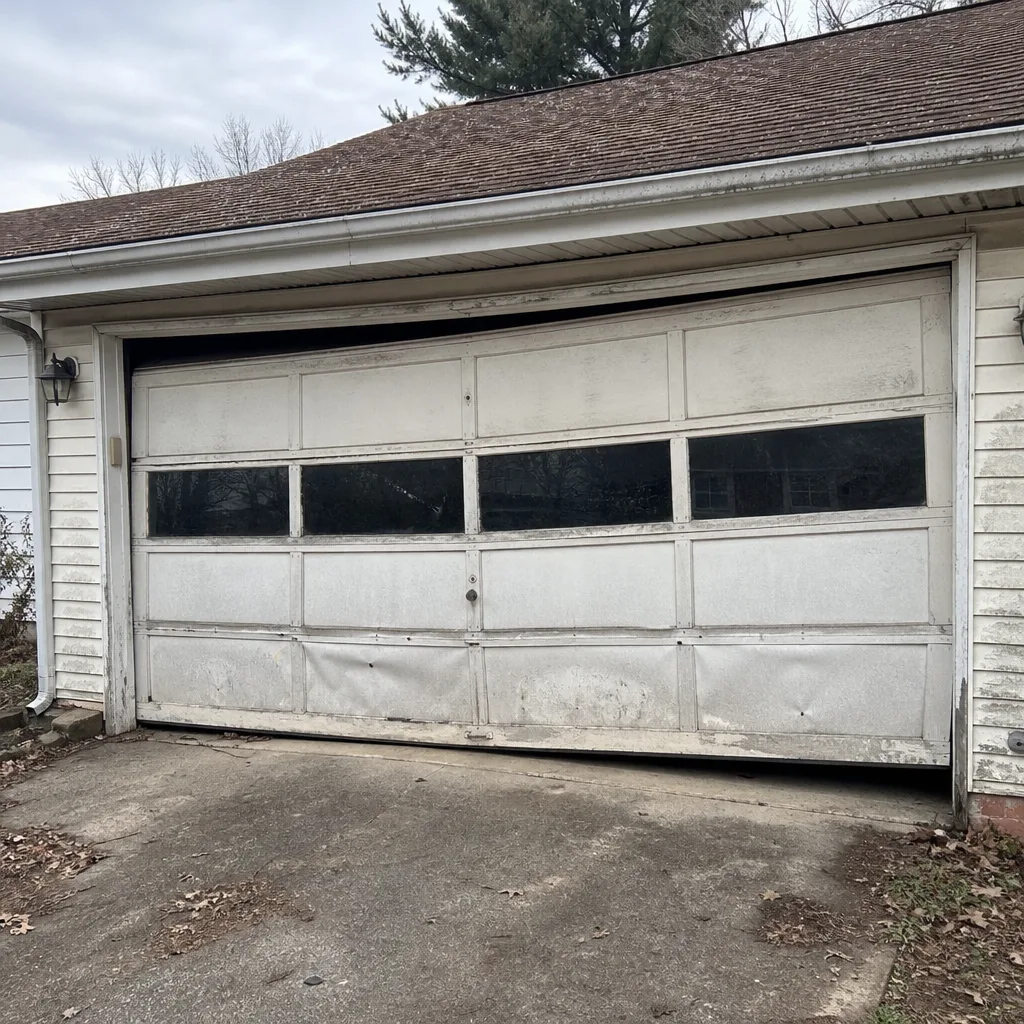 Before
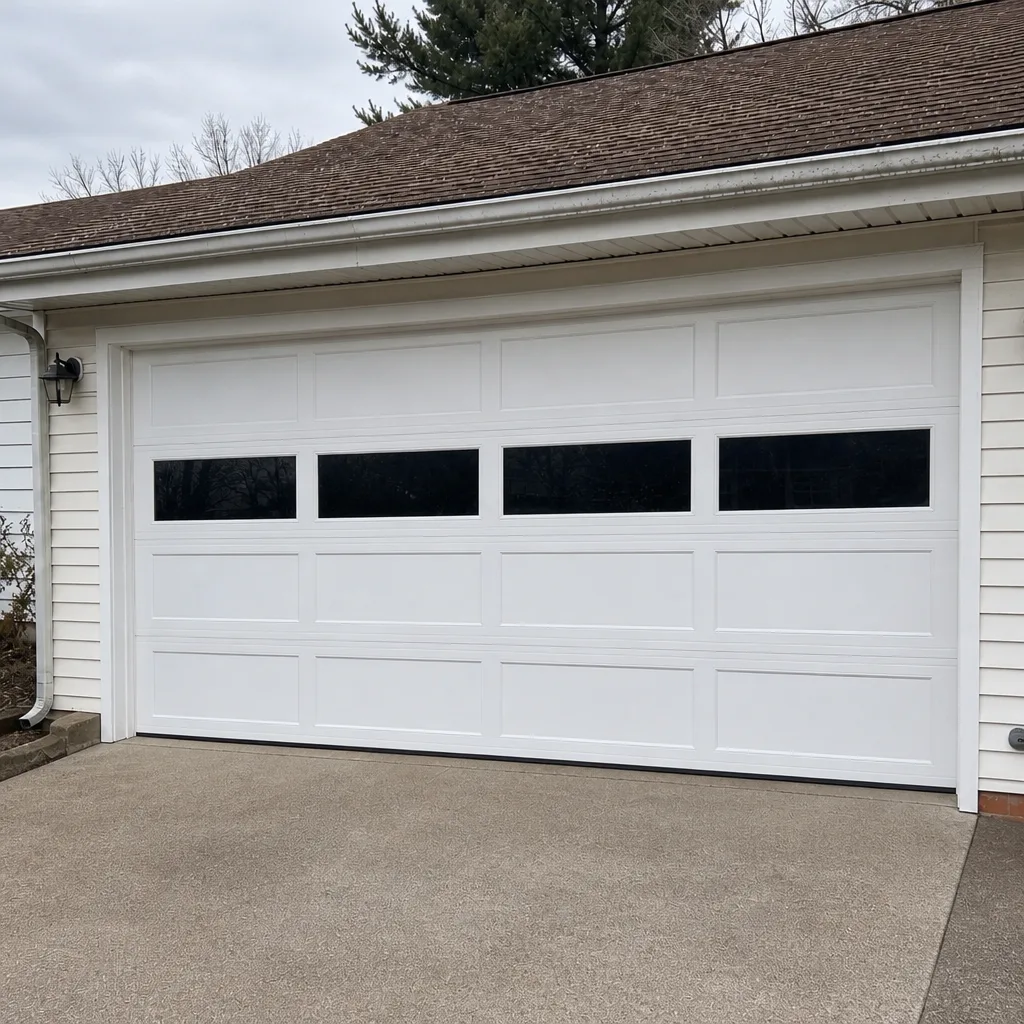 After